차례
1. Create Vagrantfile
2. Configure Vagrant box
3. Running and connecting dev server
4. Running Hello world script
1. Create Vagrantfile
(1) 기본 vagrantfile 만들기
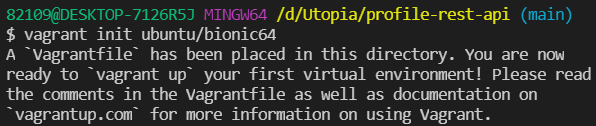
ubuntu/bionic64 base image 를 바탕으로 vagrant 파일 만들기
vagrant box catalog에서 public available한 image임
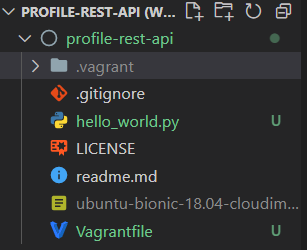
(2) file 확인

2. Configure vagant box
Vagrantfile 내용을 다음 내용으로 붙여넣기 하기
https://gist.github.com/LondonAppDev/199eef145a21587ea866b69d40d28682
C1 Vagrantfile
C1 Vagrantfile. GitHub Gist: instantly share code, notes, and snippets.
gist.github.com

3. Running and connecting dev server
(1) Running dev server
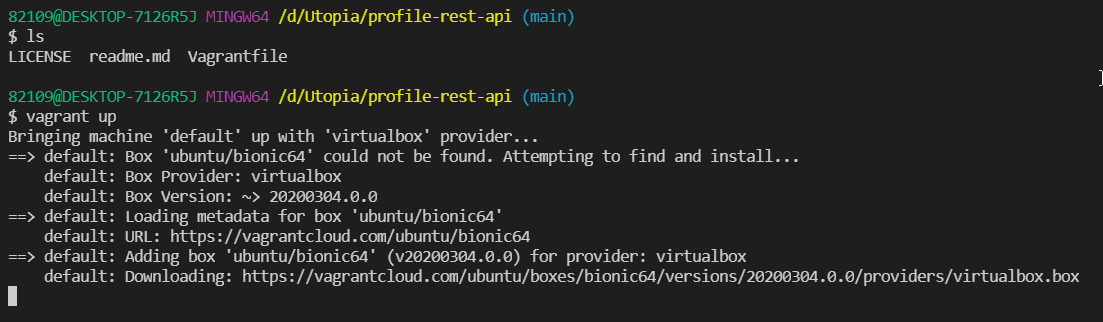
[vagrant up 을 하면 일어나는 일]
1) Vagrantfile에 명시된 bionic64 base image를 다운로드 하고
2) VirtualBox를 이용하여 새로운 virtual machine을 만들고
3) 그 virtual machine을 실행할 때 provisioning sciprt를 실행한다.
(2) connecting dev server
virtual box가 labtop과 완전 분리되어 있는 개념이기 때문에 ssh를 통해 guest operating system에 접속해줘야 한다.

4. Running hello world script

5. git push

'BE > Python & Django REST API' 카테고리의 다른 글
| [Django REST API] 6. Setup the Database (0) | 2021.12.18 |
|---|---|
| [Django REST API] 5. Creating a Django app (0) | 2021.12.18 |
| [Django REST API] 3. Setting up project (0) | 2021.12.16 |
| [Django REST API] 2. cheat-sheet (0) | 2021.12.16 |
| [Django REST API] 1. 개요 (0) | 2021.12.16 |


댓글