1. Add key pair to AWS
(1) 이걸 하는 이유?
서버에 접속할 때 ssh authentication을 해야하기 때문. 깃허브에 ssh 등록할 때도, ssh key를 일단 만든 다음에 local system에 추가하고, public key를 깃허브에 올렸지. 똑같이 할 거다.
<1> ssh key pair public file의 내용을 꺼내온다
cat ~/.ssh/id_rsa.pub
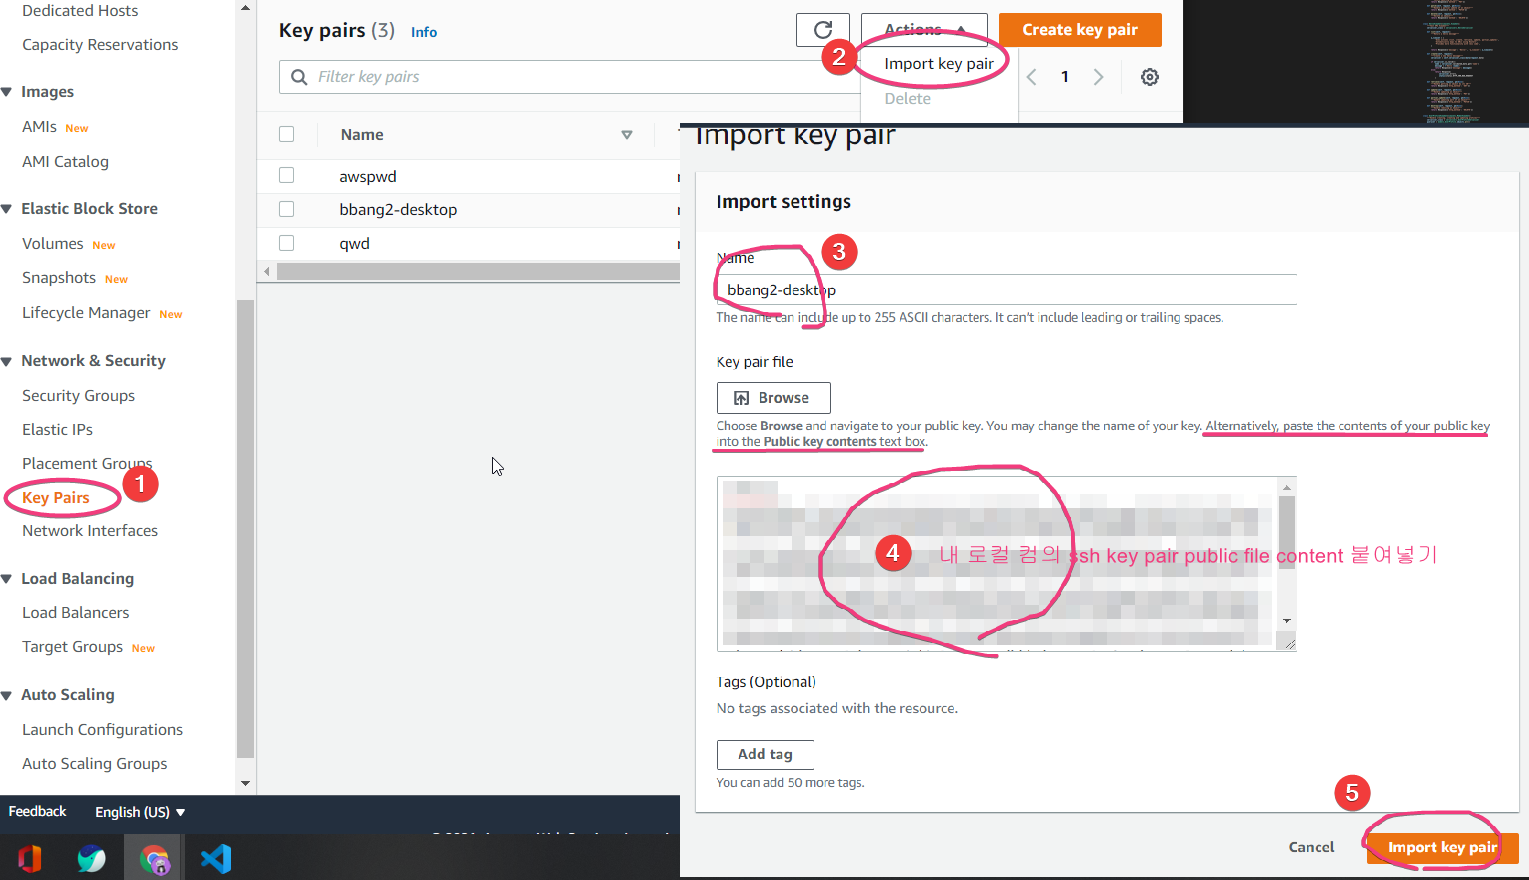
<2> aws 에 key 등록
2. key pair 로 ec2 서버 하나 런칭
생략
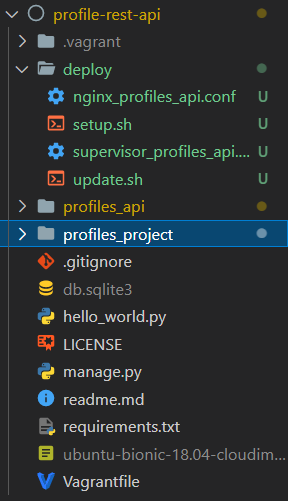
3. delploy용 파일 작업
(1) setup.sh
#!/usr/bin/env bash

set -e

# CHANGEME.git을 내 git repo로 바꾸기
PROJECT_GIT_URL='https://github.com/CHANGEME.git'
# 서버에서 프로젝트가 clone될 위치 설정
PROJECT_BASE_PATH='/usr/local/apps/profiles-rest-api'

# dependy 설치
echo "Installing dependencies..."
apt-get update
# git은 clone위해 사용 nginx는 proxy server로 supervisor 돌리기 위해 사용
# python3-venv 는 virtual environment 구축용, python3-dev는 서버에서 파이썬 쓰기 위함용
apt-get install -y python3-dev python3-venv sqlite python-pip supervisor nginx git

# Create project directory
mkdir -p $PROJECT_BASE_PATH
git clone $PROJECT_GIT_URL $PROJECT_BASE_PATH

# Create virtual environment
mkdir -p $PROJECT_BASE_PATH/env
python3 -m venv $PROJECT_BASE_PATH/env

# Install python packages
# requirements.txt 파일에 있는 dependencies를 다 설치하고
$PROJECT_BASE_PATH/env/bin/pip install -r $PROJECT_BASE_PATH/requirements.txt
# uwsgi는 웹서버에서 파이썬을 돌리는 daemon이다
$PROJECT_BASE_PATH/env/bin/pip install uwsgi==2.0.18

# Run migrations and collectstatic
cd $PROJECT_BASE_PATH
$PROJECT_BASE_PATH/env/bin/python manage.py migrate
# 모든 static file을 모아서 하나의 디렉토리로 모아준다.
# python manage.py runserver를 할 때는 장고가 알아서 이걸 처리했었던 것.
# 그렇지만 production에서는 따로 모아줘야하는 것이지
$PROJECT_BASE_PATH/env/bin/python manage.py collectstatic --noinput

# Configure supervisor
# supervisor란 파이썬 프로세스와 uWSGI server를 관리해주는 리눅스 프로그램이다.
# supervisor 가 읽을 수 있게 conf파일을 복사해주고
cp $PROJECT_BASE_PATH/deploy/supervisor_profiles_api.conf /etc/supervisor/conf.d/profiles_api.conf
# 복사한 파일을 읽을 수 있게 reread해준다
supervisorctl reread
# reread했으면 update를 하고
supervisorctl update
# 다시 시작한다
supervisorctl restart profiles_api

# Configure nginx
# conf파일 복사해주고
cp $PROJECT_BASE_PATH/deploy/nginx_profiles_api.conf /etc/nginx/sites-available/profiles_api.conf
# default conf파일은 지워준다
rm /etc/nginx/sites-enabled/default
# symbolic link 걸어주고
ln -s /etc/nginx/sites-available/profiles_api.conf /etc/nginx/sites-enabled/profiles_api.conf
# nginx 를 재실행한다
systemctl restart nginx.service

echo "DONE! :)"
(2) update.sh (코드 업데이트 후 반영할 때 사용)
#!/usr/bin/env bash
set -e
PROJECT_BASE_PATH='/usr/local/apps/profiles-rest-api'
git pull
$PROJECT_BASE_PATH/env/bin/python manage.py migrate
$PROJECT_BASE_PATH/env/bin/python manage.py collectstatic --noinput
supervisorctl restart profiles_api
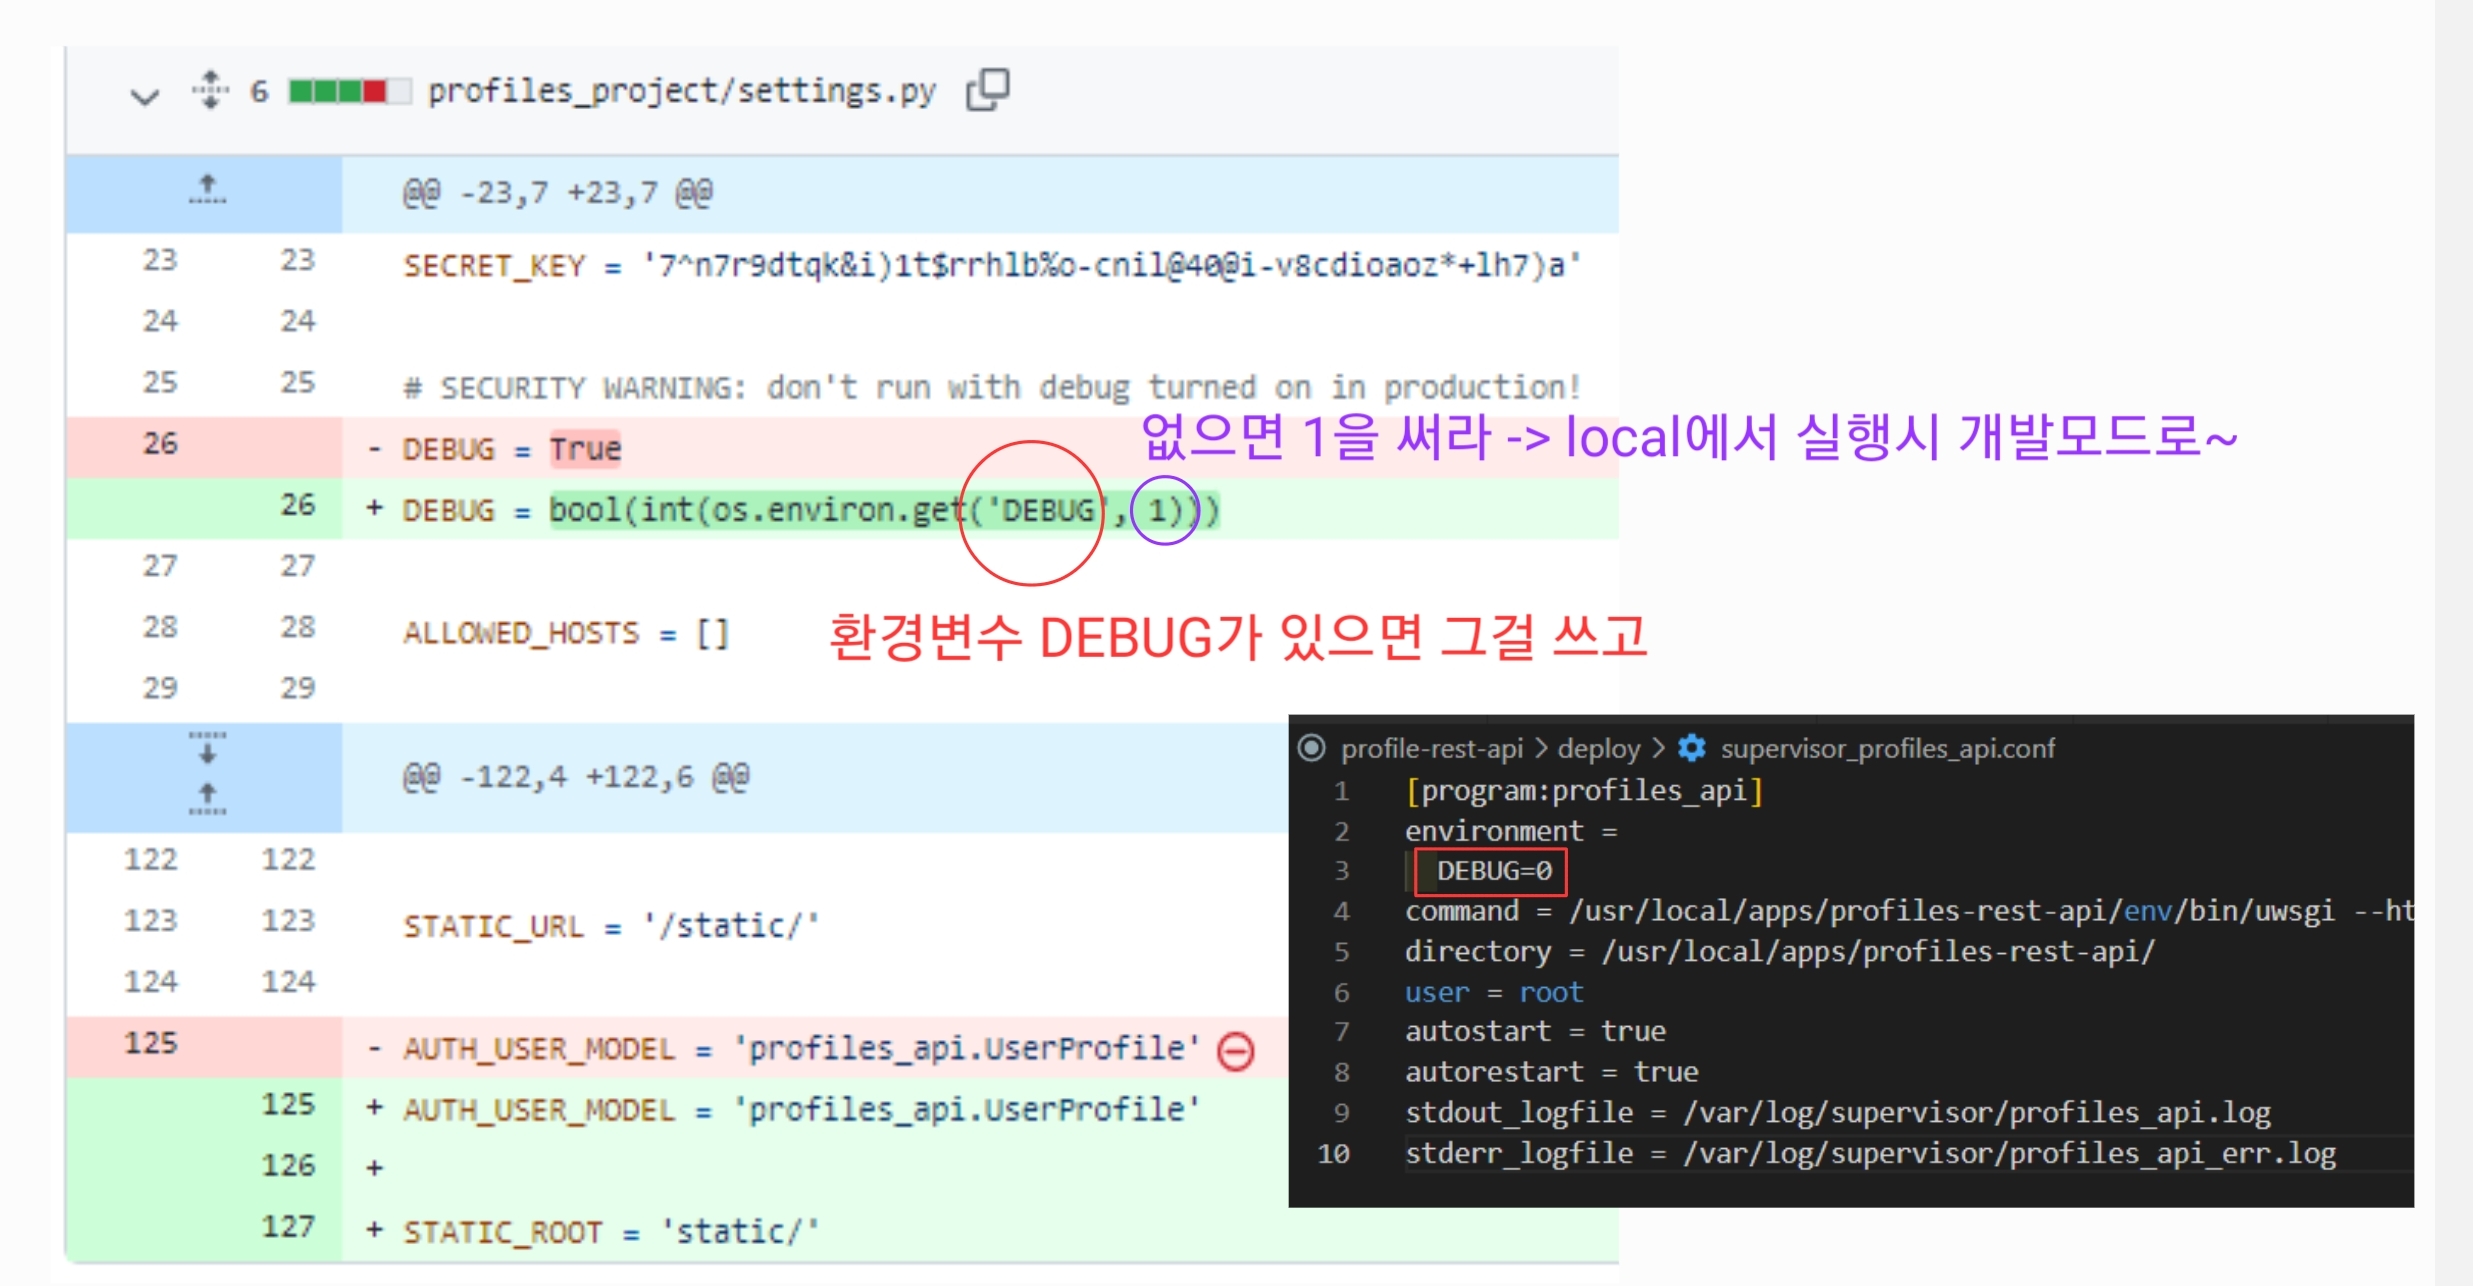
echo "DONE! :)"(3) supervisor_profiles_api.conf
[program:profiles_api]
environment =
  DEBUG=0
command = /usr/local/apps/profiles-rest-api/env/bin/uwsgi --http :9000 --wsgi-file /usr/local/apps/profiles-rest-api/profiles_project/wsgi.py
directory = /usr/local/apps/profiles-rest-api/
user = root
autostart = true
autorestart = true
stdout_logfile = /var/log/supervisor/profiles_api.log
stderr_logfile = /var/log/supervisor/profiles_api_err.log
(4) nginx_proifles_api.conf
server {
    listen 80 default_server;

    location /static {
        alias /usr/local/apps/profiles-rest-api/static;
    }

    location / {
        proxy_pass        http://127.0.0.1:9000/;
        proxy_set_header  Host                $host;
        proxy_set_header  X-Real-IP           $remote_addr;
        proxy_set_header  X-Forwarded-For     $remote_addr;
        proxy_set_header  X-Forwarded-Proto   $scheme;
        proxy_redirect    off;
    }
}
(5) 파일 실행 권한주기

4. debug 모드 해제
5. 서버 작업 완성하기
(1) 서버 접속

(2) setup.sh script 주소 복사하기

(3) 서버에서 script 실행하기

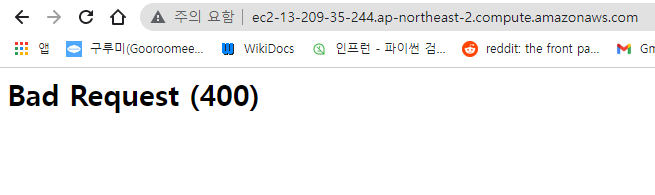
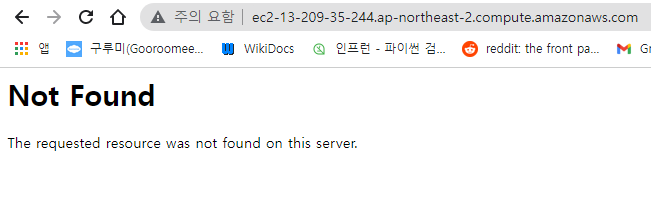
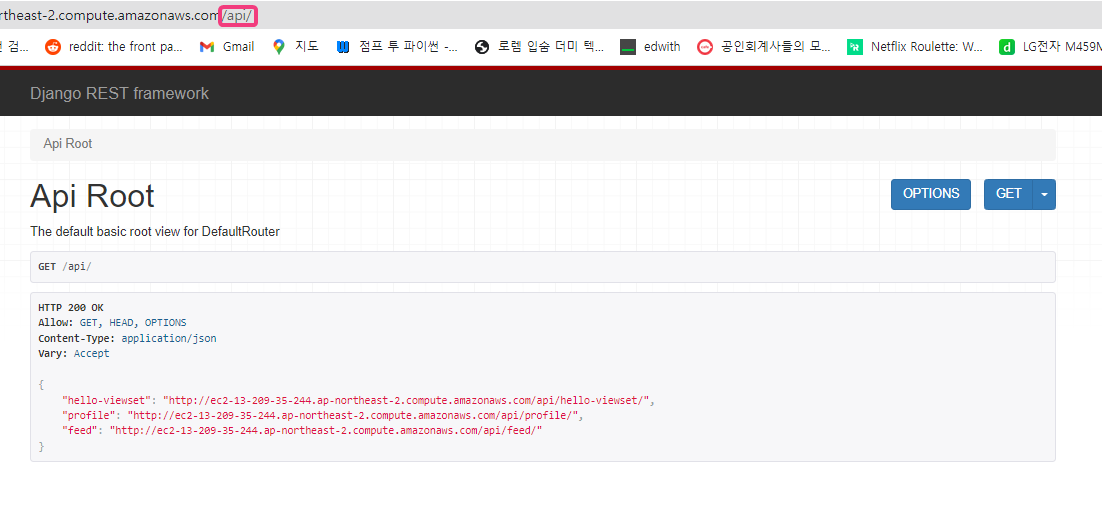
(4) 서버접속해보기
(5) allowed host 지정해주기

(6) git push 후 update script 실행하기

(7) 서버 다시 접속해보기
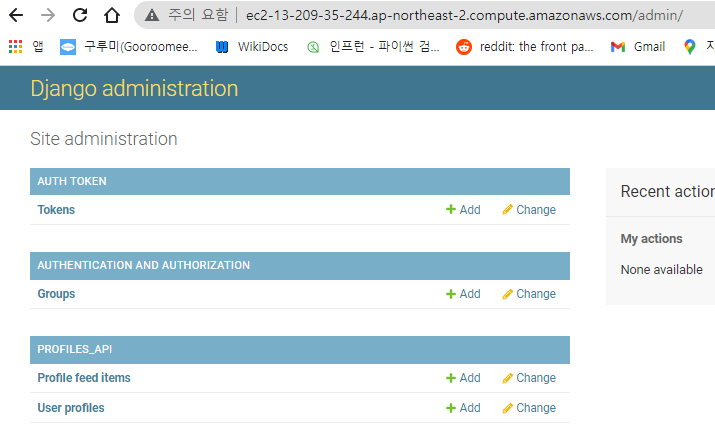
(8) superuser 만들고 admin페이지 접속해보기

'BE > Python & Django REST API' 카테고리의 다른 글
| [Django REST API] 12. Create profile feed API (0) | 2021.12.25 |
|---|---|
| [Django REST API] 11. Create login API (0) | 2021.12.24 |
| [Django REST API] 10. Create Profiles API (0) | 2021.12.22 |
| [Django REST API] 9. Introduction to Viewsets (0) | 2021.12.20 |
| [Django REST API] 8. Introduction to API Views (0) | 2021.12.18 |


댓글